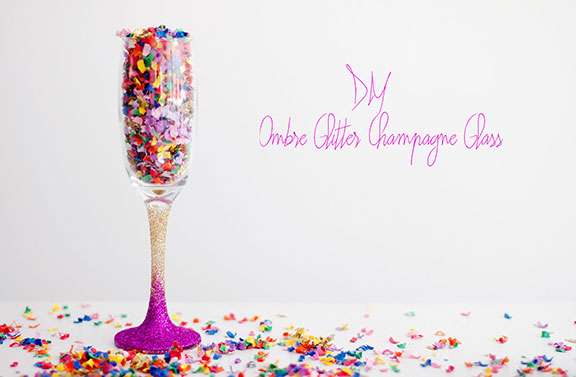
When it came to planning how to style my recent champagne party, I knew it would be the perfect opportunity to flex my creative muscles. Now I’m no expert, in fact I’m darn right rubbish at DIY projects, and I’m certainly not a professional stylist either. But I knew if I just kept things simple and threw glitter at it, it would probably work out in the end.
Luckily Sophie was on hand to help me and look at what we made! Pretty huh!?
Supplies Needed
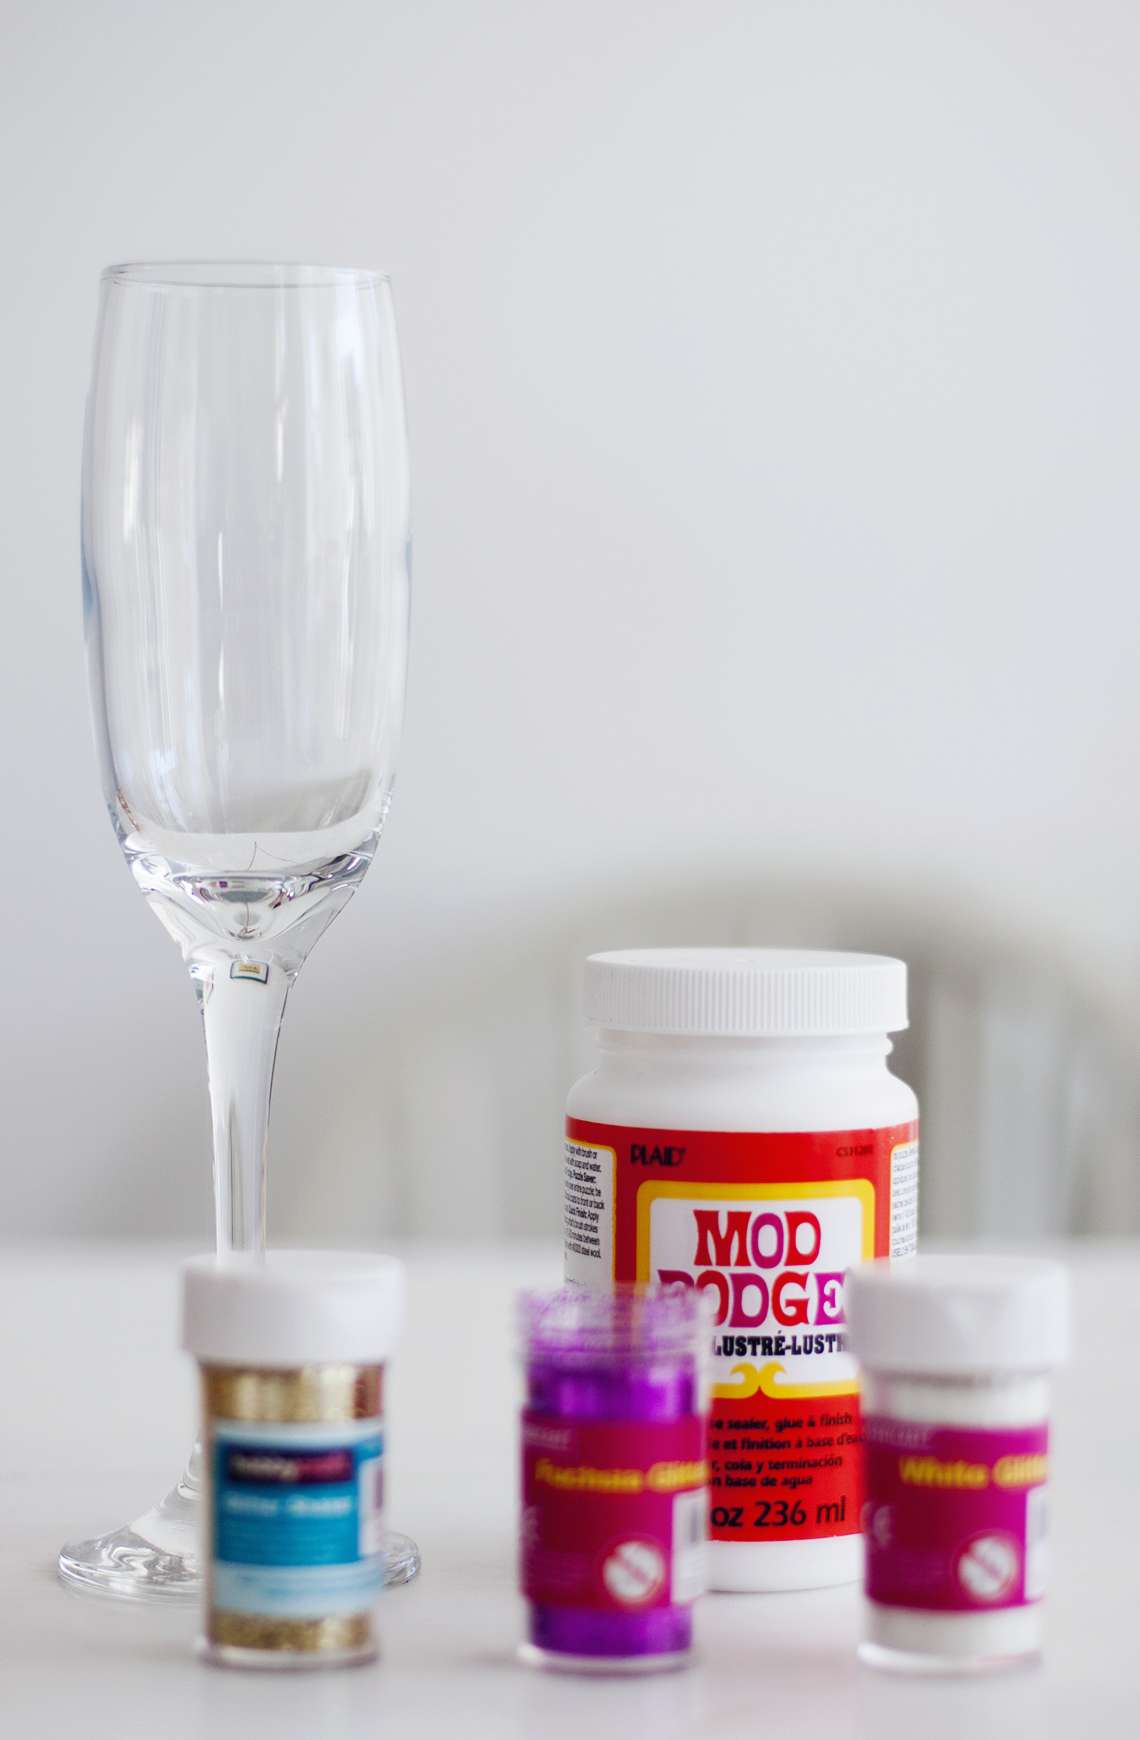

♥ Champagne glasses (I got mine from Morrisons for 60p each!)
♥ Mod Podge glue
♥ Your choice of glitter in at least two colours
♥ Brush
Method
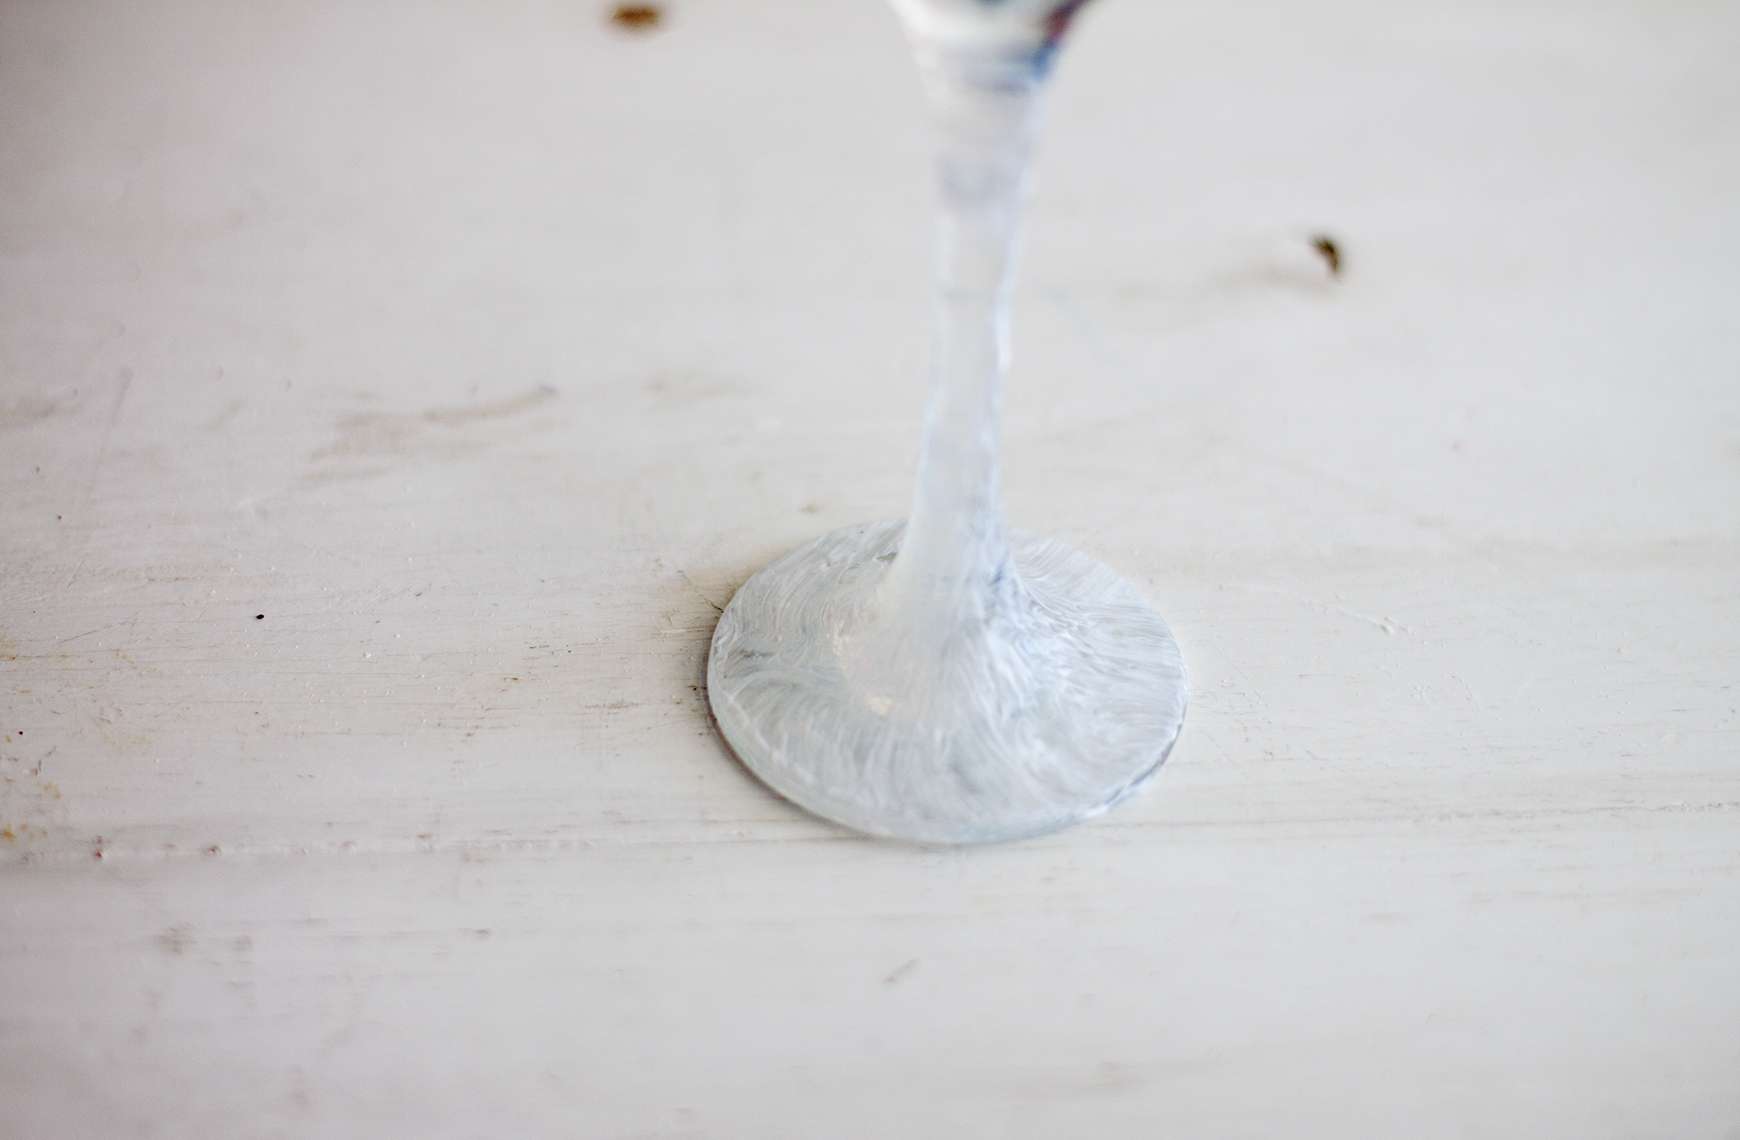
Step one: Use the brush to cover the stem and base of the champagne glass in Mod Podge. This is the best glue to use because it’s a glue, sealer and varnish in one, although I’m sure any old PVA would work.
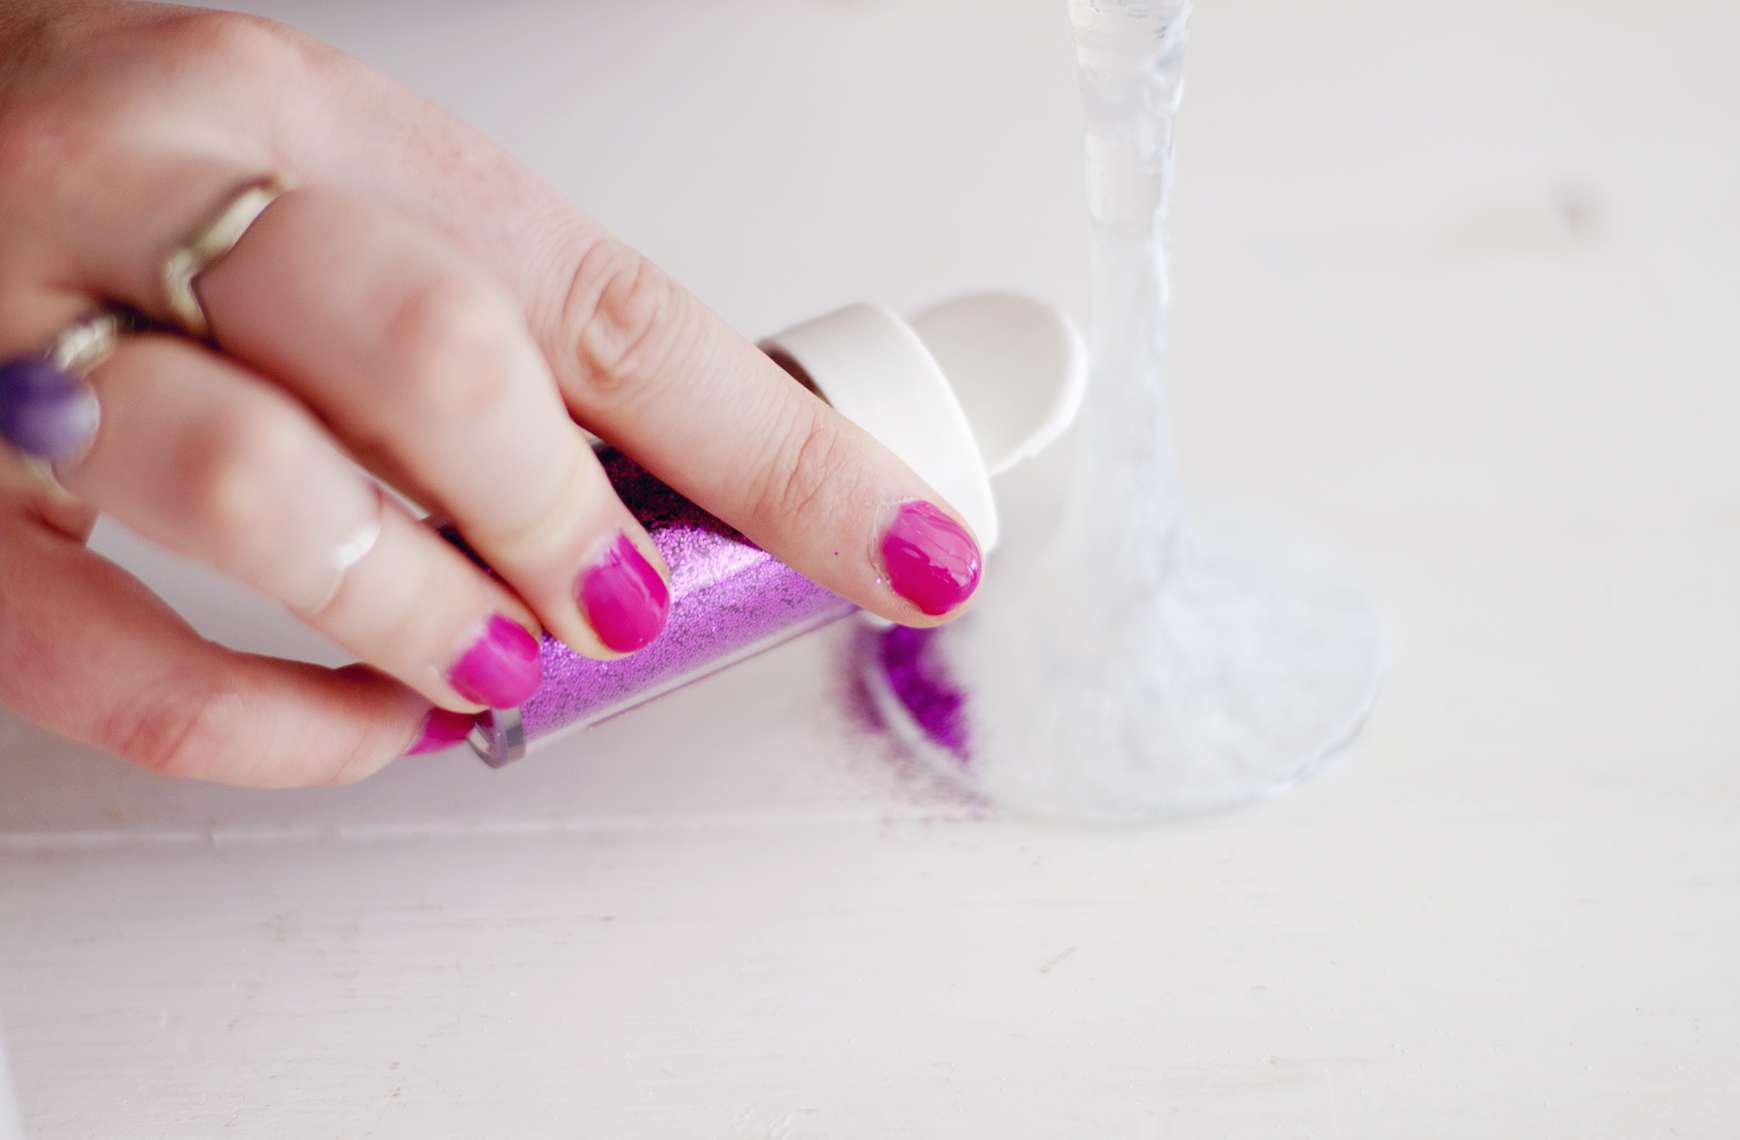
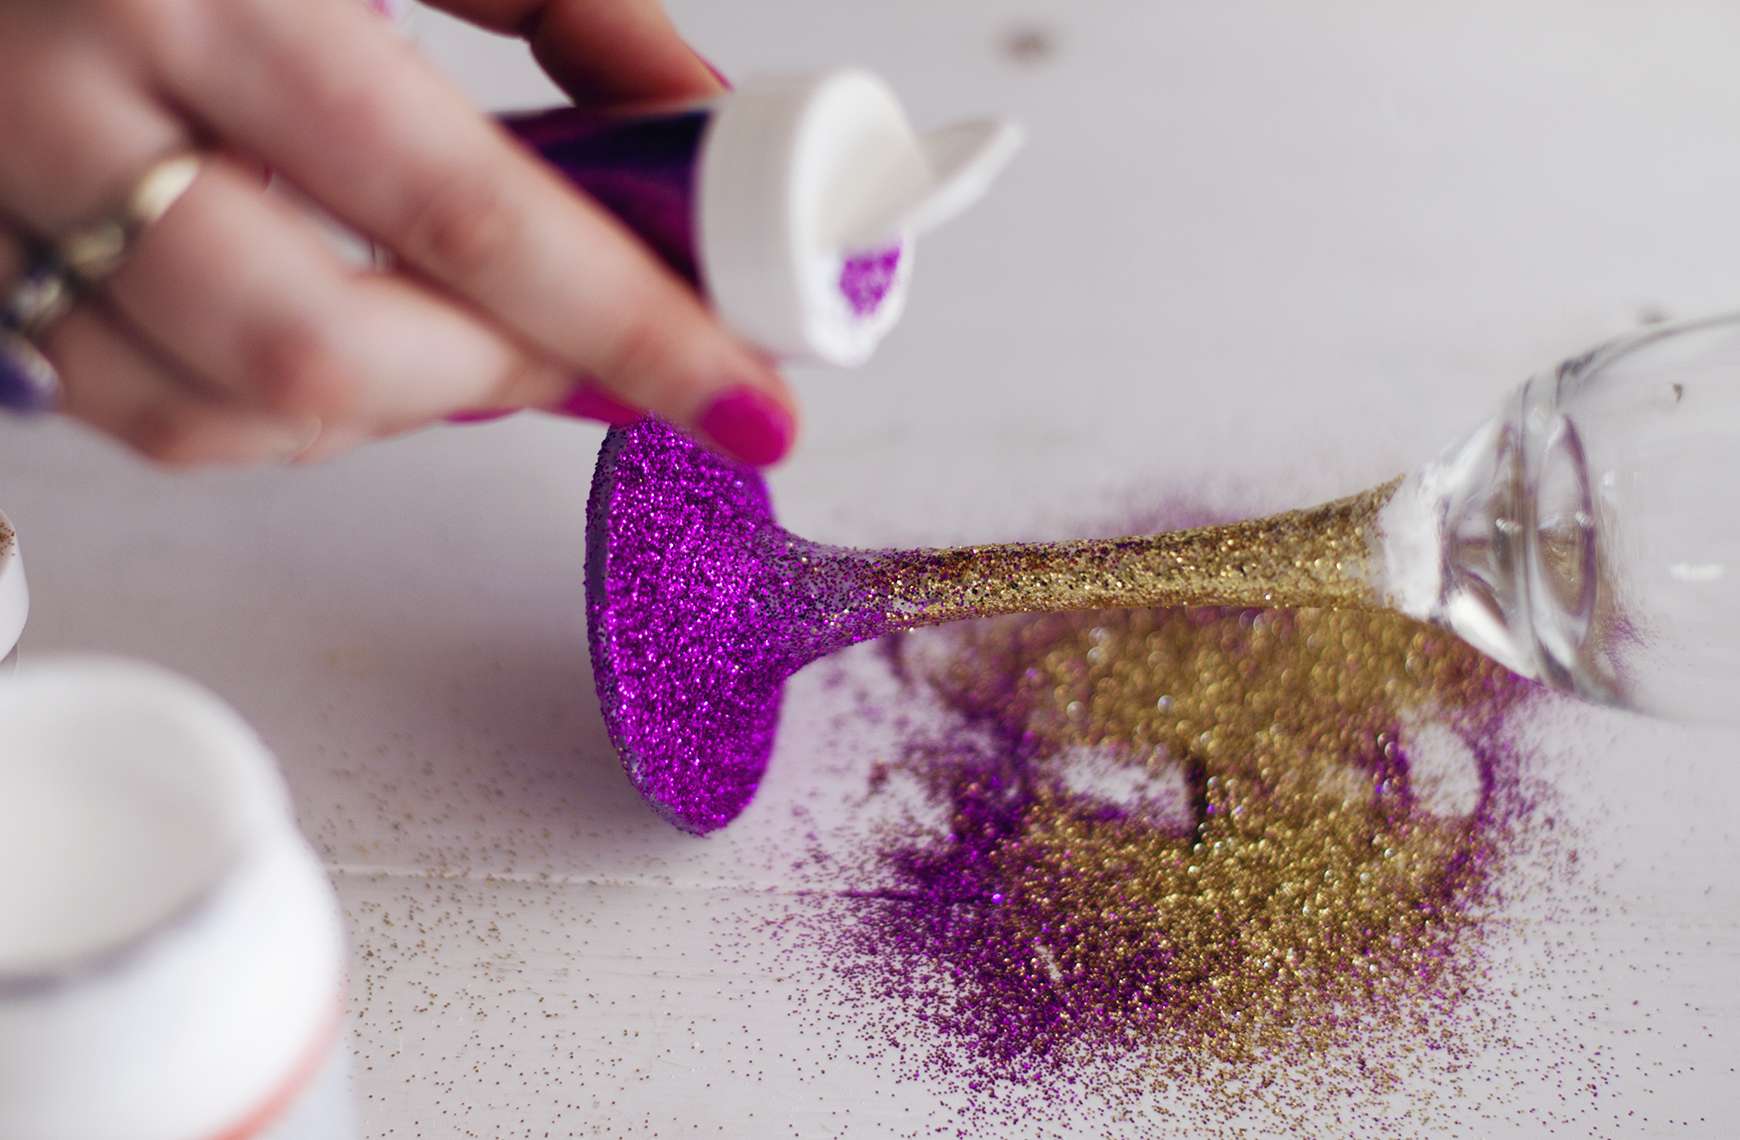
Step two: Take your first glitter colour and cover the base, shaking off the excess as you go. Make sure there are no gaps as you don’t want any clear glass showing through!

Step three: If you’re just using two glitter colours, like we did, now take the second and cover the stem, twisting the glass with your other hand as you go. If you plan to use three colours, just do this second one half-way up. Shake off the excess glitter.

Step four: Take your first glitter colour again and go over some of the second colour with it to make sure you have an overlap. This will create the ombre effect!
And there you go! How bloody easy was that!?
Obviously these glasses are not going to be dishwasher safe which is why we only did the stem – so we could carefully hand wash the main part of the glass after use.
Party time, excellent!


